
Last updated November 15, 2026
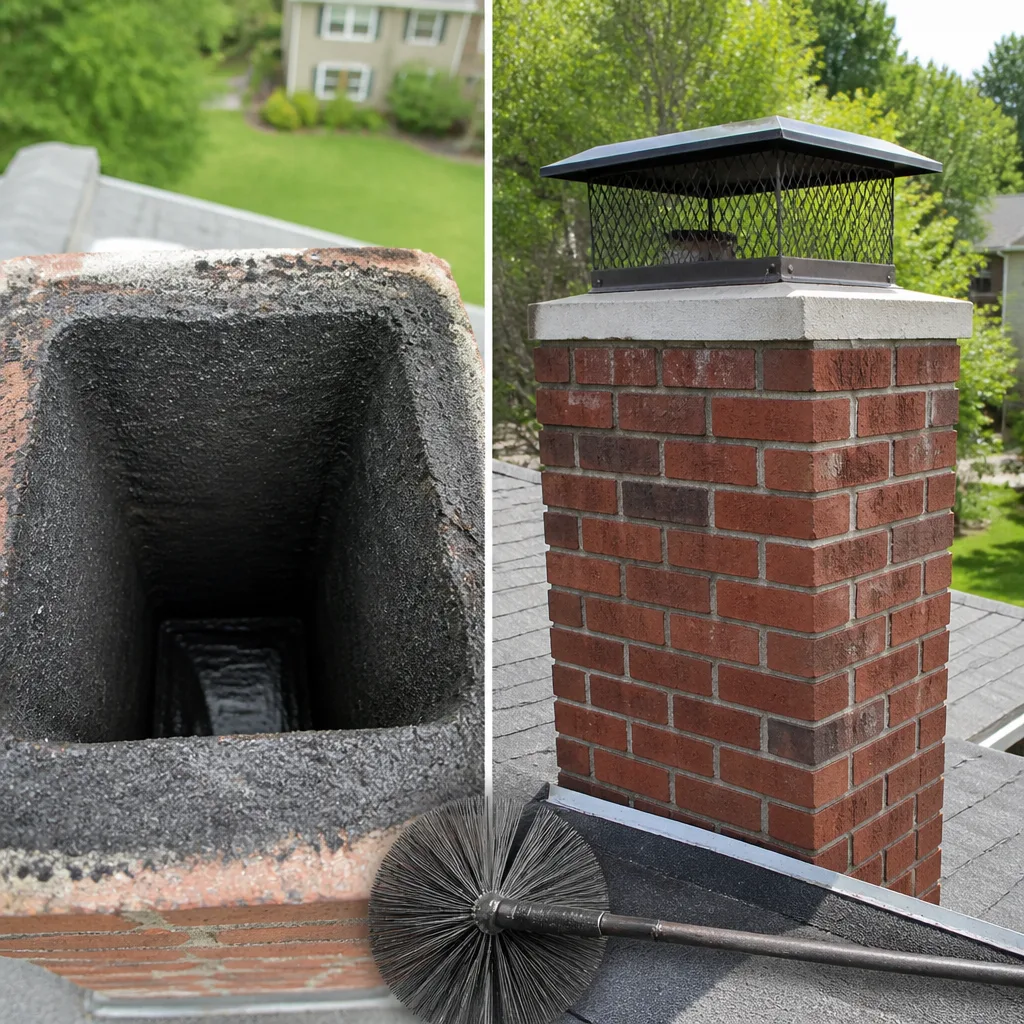 Sweep & inspection
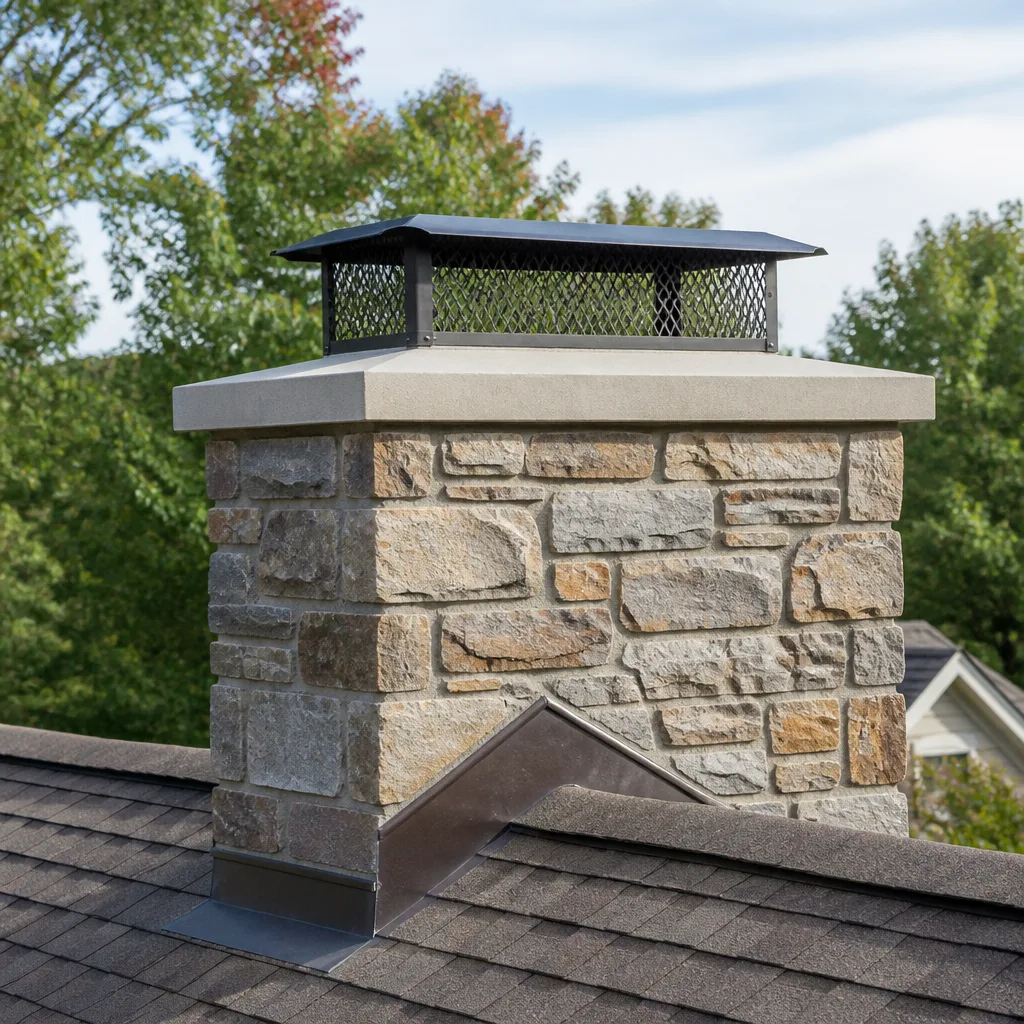 Caps & crowns
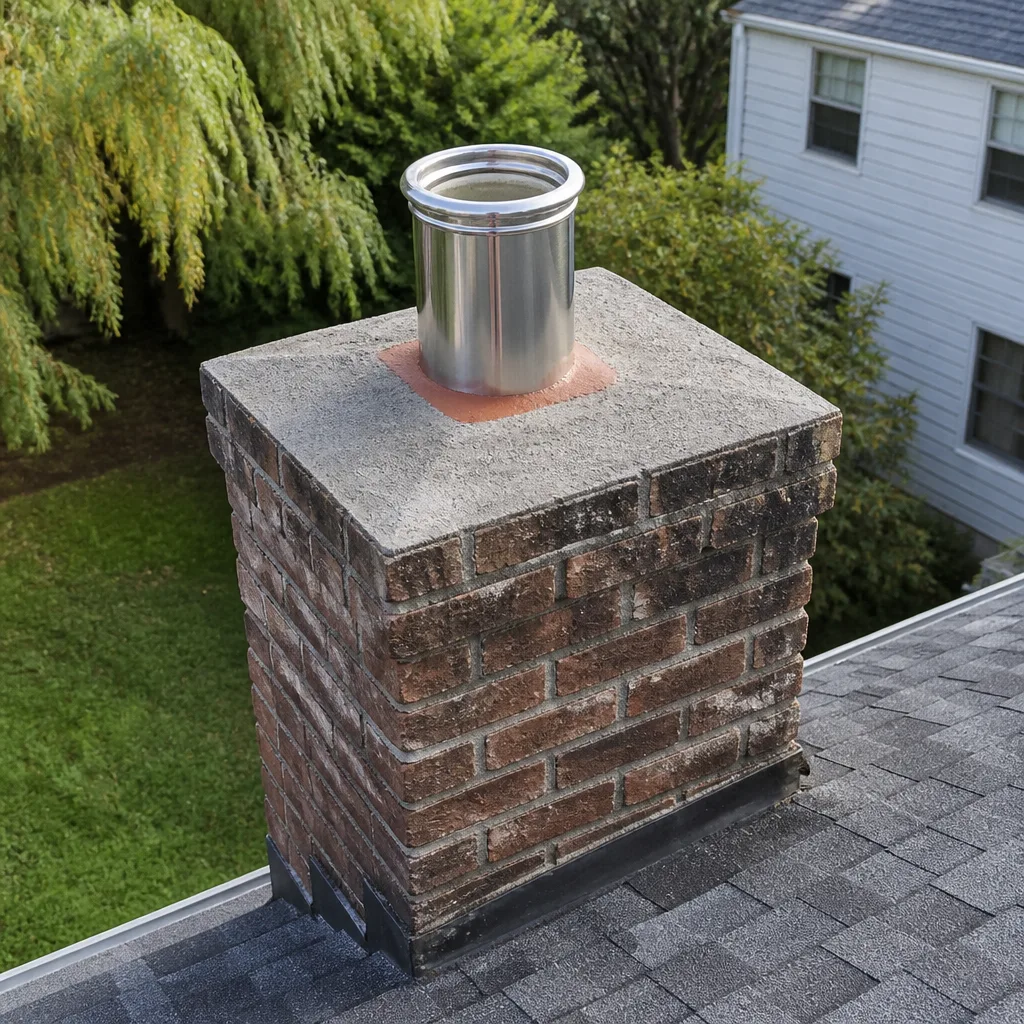 Flue relining
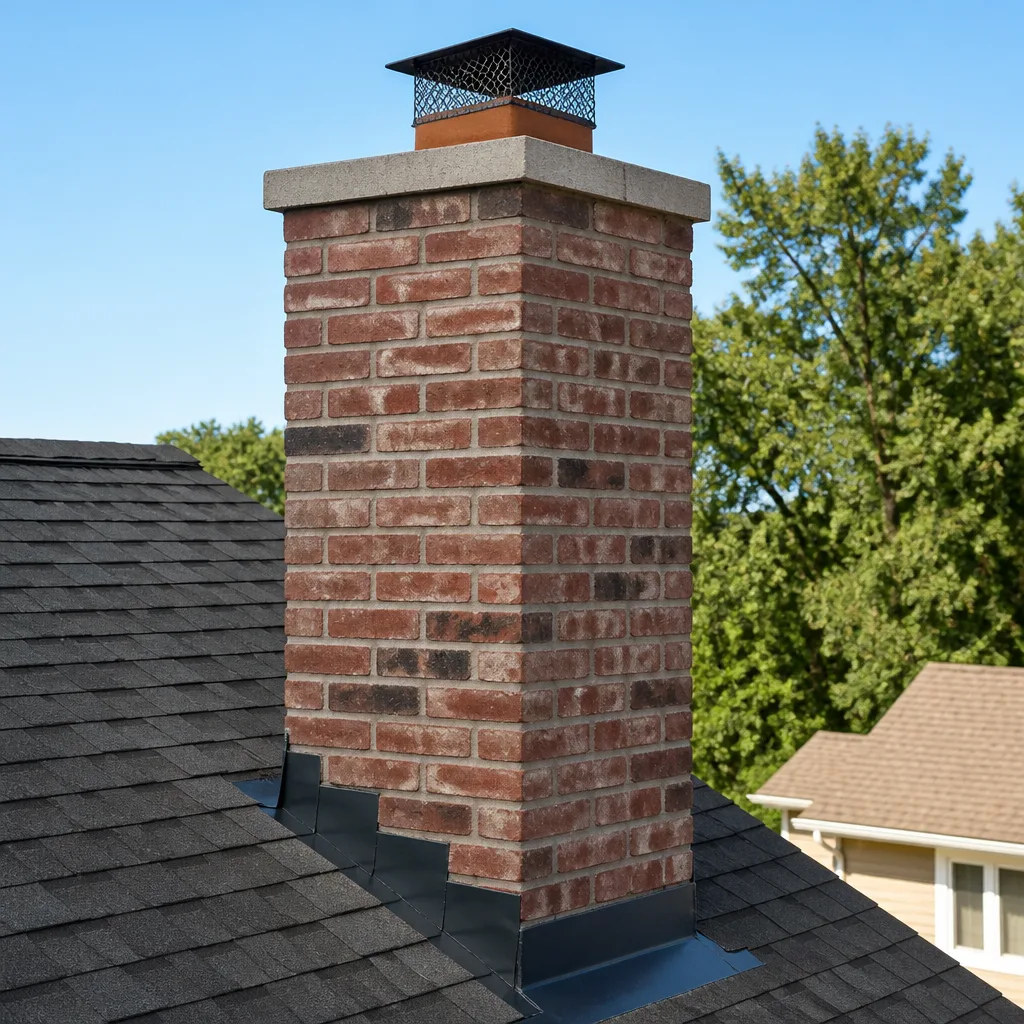 Masonry repair
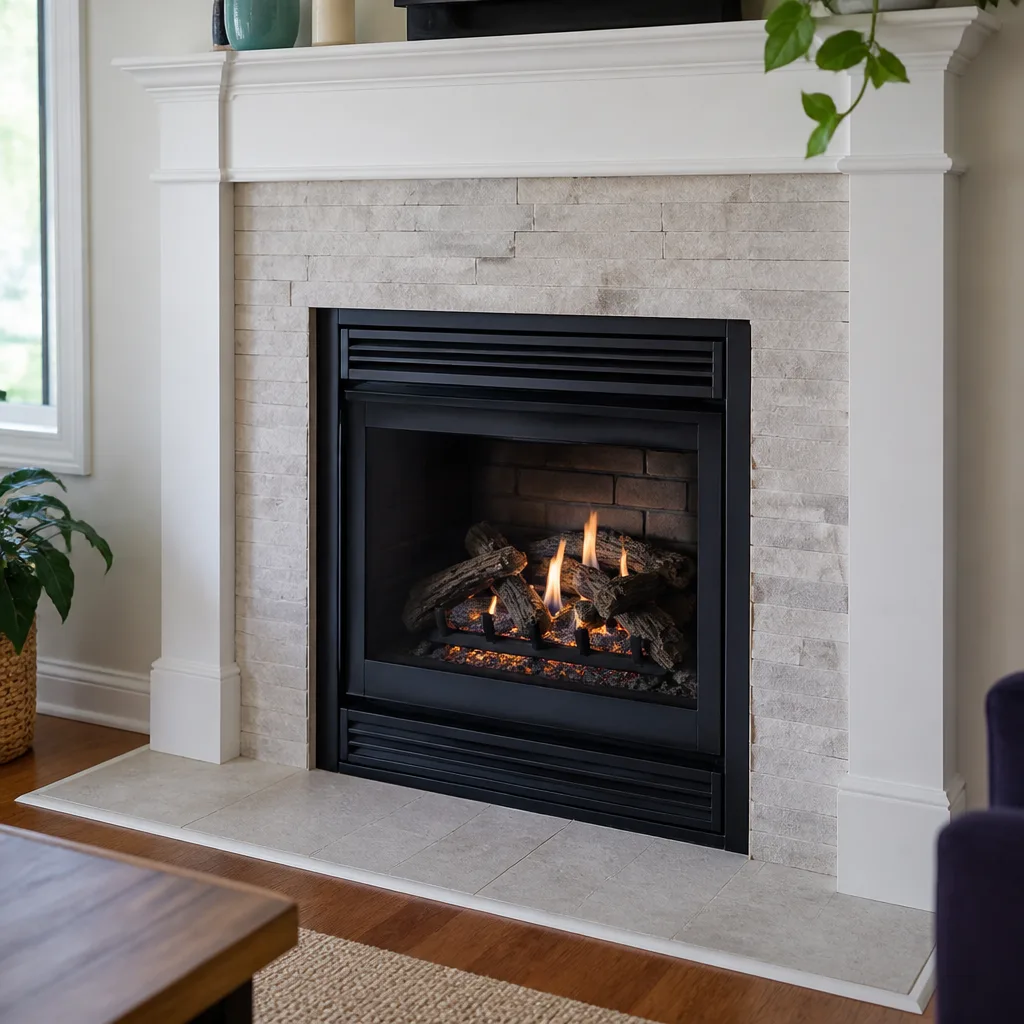 Gas fireplace service
Level 1 sweep and inspection to the NFPA 211 annual standard - flue, crown, cap, and flashing checked and photographed
Chimney sweep logs do not sweep chimneys. They loosen some creosote - which then falls where a brush and vacuum still have to collect it.
DIY vs Professional Chimney Cleaning: The St. Petersburg Homeowner’s Decision Guide
You can buy the same brushes a chimney sweep uses. What you can’t buy is the ability to see inside your flue the way a trained inspector with a camera system does, and that’s where the safety-critical information actually lives. Most homeowners in St. Petersburg who ask about DIY chimney cleaning are asking the wrong question. It isn’t whether you’re strong enough to run a brush up a flue. It’s whether you can tell, once that brush comes back down, what state your chimney is actually in. This guide walks through what DIY cleaning can honestly do, what it can’t, where the real danger sits, and how a professional sweep differs in substance rather than sales talk.
Quick Answer
DIY chimney cleaning can knock down light, Stage 1 creosote and clear surface soot from an accessible flue, but it can’t evaluate liner integrity, identify Stage 2 or Stage 3 creosote, detect hidden cracks or wildlife blockage, or verify that your chimney is safe to burn in. A professional sweep in St. Petersburg uses camera inspection and specialized tools to diagnose the system, not just clean it. If you’re only deciding whether to sweep at all, call a professional first and let the inspection decide.
Styles & brands we work with
- Sweep & inspection
- Caps & crowns
- Flue relining
- Masonry repair
- Gas fireplace service
Table of Contents
- What DIY chimney cleaning can actually accomplish
- What DIY cannot do: the diagnostic gap
- Creosote stages and why Stage 2 and 3 change the conversation
- Why Florida humidity makes creosote more stubborn
- Cost comparison over three years: DIY kit vs. professional sweep
- What a professional sweep step-by-step actually involves
- The one place DIY genuinely adds value
- When to call a professional
What DIY chimney cleaning can actually accomplish
We’re not going to tell you a homeowner with the right brush and a shop vacuum can’t do anything useful. That would be dishonest, and you’d see through it. Here’s what a determined, reasonably handy St. Petersburg homeowner can do with consumer chimney tools.
A properly sized poly brush, run through a firebox and up an accessible flue, removes loose soot from the flue walls. It dislodges light Stage 1 creosote, the flaky, powdery, soot-like deposits that build up in the first weeks of regular burning. It clears ash from the firebox floor and the smoke shelf. If you have a top-cleaning setup with ladder access and a proper rod set, you can reach most of the flue on a straight run.
What that means in real terms:
- Loose soot removal: yes, and that’s worth something. Soot contributes to draft problems and odor.
- Stage 1 creosote flaking: most of it can come down with a hard poly brush.
- Ash and debris in the firebox: manageable for a homeowner with a vacuum rated for fine ash.
- Cap and crown surface visible from the ground: you can eyeball obvious damage from below.
The honest framing is this: a DIY sweep removes some visible material. That’s a cleaning action. It is not an inspection, and a clean chimney is not automatically a safe chimney. Those are two different outcomes, and only one of them keeps your home protected from the inside of your flue. If your flue is straight, short, and you burn dry hardwood occasionally, the DIY result can look a lot like a professional result from the outside. It’s what you can’t see that separates the two.
What DIY cannot do: the diagnostic gap
The DIY debate usually centers on physical capability. But the real issue is diagnostic access. A homeowner with the right brush can remove soot. A homeowner cannot, without training and a camera system, tell whether their flue liner is intact, whether the creosote inside is actually Stage 2 or Stage 3, or whether a crack in the flue tile has opened a path for heat or carbon monoxide into the structure of the house.
Here’s what a professional inspection delivers that a brush simply doesn’t:
- Camera inspection of the flue interior. A dedicated chimney camera runs the full length of the flue and shows liner condition, joints, offsets, and any obstruction. This is the piece DIY cannot replicate.
- Creosote stage identification. Distinguishing Stage 1, 2 and 3 changes everything about what happens next. A brush can’t make that call.
- Liner integrity check. Cracks, gaps, spalling and clay tile separation are not visible from the firebox. They show up on camera.
- Obstruction survey. Bird nests, squirrel nests, leaf packing, and other blockages are common in the warmer months when a St. Petersburg chimney sits idle. A camera finds them; a brush sometimes knocks them loose into the wrong place.
- Structural assessment. Crown cracks, flashing failure, masonry joint deterioration, and cap condition are part of a full inspection, not an ornamental add-on.
The dangerous conditions are the ones that fail silently. A Stage 2 or Stage 3 creosote deposit, a hairline liner crack, a nest wedged against a smoke shelf, or a flue tile that has spalled: none of these exist as a worry you can see from the hearth. They exist inside the flue, and you find them by looking with a camera. We treat every chimney as a structural safety system for exactly this reason. Cleaning is what you do to a chimney. Diagnosis is what tells you whether it’s safe to use at all.
If you’ve had a professional chimney sweep done and the report feels fuzzy, ask for the camera images. That’s the difference.
Creosote stages and why Stage 2 and 3 change the conversation
Creosote is not one substance. It’s a family of deposits that forms when wood smoke condenses on a cooler flue surface, and it evolves through three recognizable stages. The stage determines whether your chimney just needs a sweep or whether it needs a different level of intervention entirely.
- Stage 1: flaky, soot-like, powdery. Comes off with a standard brush. This is what most DIY sweeps are actually removing.
- Stage 2: a hardened, crusty, tar-like layer that adheres to the flue wall. A typical consumer brush doesn’t remove it. It requires specialized tools and technique.
- Stage 3: a glazed, hardened, fuel-rich deposit that has essentially baked onto the flue surface. This stage is the most serious of the three and is where the fire risk concentrates.
The reason this matters for the DIY question is simple. A homeowner can usually tell whether the stuff coming down the flue is loose and flaky or hard and gummy. What a homeowner can’t reliably tell is what’s left behind on the flue wall after the brush passes, and whether that residue is dense enough to raise real risk. Stage 2 and Stage 3 creosote also don’t look dramatically different from each other in a photo taken with a phone flashlight. An inspector’s eye is doing the classifying.
Here’s the harder part. Stage 2 and Stage 3 deposits aren’t just “more creosote that will eventually come off.” They’re the layers most associated with chimney fire conditions when a fire gets hot enough, and they’re stubborn enough that brushing harder isn’t the answer. Removing them safely is a job for someone who has done it many times and has the right tooling for the stage they’re looking at. When we find Stage 2 or Stage 3 deposits during a chimney repair visit, we don’t reach for the same brush we started with. We reach for the correct tool for the condition and, in some cases, a different plan altogether. If a homeowner’s own inspection convinced them they had Stage 1 and the flue actually has a Stage 2 layer underneath, the brush has done the easy surface work and left the safety-critical material behind. That’s the trap.
Why Florida humidity makes creosote more stubborn
St. Petersburg’s warm, humid air does something to creosote that a homeowner in a dry climate doesn’t have to contend with. Humidity doesn’t create creosote, but it makes existing deposits tackier, denser, and more adhesive to the flue wall. That has a direct effect on how well consumer brushes work.
Here’s the practical sequence. During the warmer months, the interior of an idle flue in St. Petersburg sits in ambient air that is often damp. Any creosote deposited during the burn season can absorb some of that moisture, especially in the form of condensation against a cool surface. When creosote takes on moisture, the outer edges of the deposit soften and then re-harden into a more sticky, cohesive mass. That mass is harder to lift with a brush because it isn’t flaking. It’s clinging.
That humidity effect has two consequences worth naming:
- DIY brush efficiency drops. A brush that removes Stage 1 creosote cleanly in a dry climate can smear a humid-season deposit along the flue wall instead of lifting it off. The brush still feels like it’s working because soot comes down, but the tar layer stays put.
- Debris accumulation increases. Damp conditions are also more likely to leave leaf and nest debris clumped against screens, caps, and smoke shelves. That’s a fairly common sight in a St. Petersburg chimney that sat idle through a humid stretch.
One more thing about the local climate: our mild winters mean many homeowners burn more frequently on cooler evenings spread across a longer season than someone in a colder market. That increases the total number of burns a flue accumulates in a year, which increases creosote load, which makes the humid-season adhesiveness matter more. Homeowners who burn often, even lightly, tend to need professional attention sooner than they expect. The environment of St. Petersburg itself is part of why a light DIY sweep can feel like it worked without actually resolving the layer that matters.
Cost comparison over three years: DIY kit vs. professional sweep
Let’s put the numbers side by side in general terms. We won’t quote specific prices here because every chimney is different, and the written estimate is the number that counts. What we can do is show you the shape of the comparison, because the DIY decision usually looks cheaper for one year and more expensive across three.
Here’s what a DIY path typically involves:
- Properly sized poly brush and rods: a one-time purchase, but you buy once and it lasts.
- A vacuum rated for fine ash: another purchase, and a cheap shop vac that doesn’t filter fine ash makes the indoor air worse, not better.
- Ladder, gloves, goggles, drop cloths: some homeowners own them, some don’t.
- Time per sweep: half a day or more for a novice, and more if you’re learning what to look for on the way.
- Not factored in by most DIY budgets: the diagnostic work that isn’t happening, and the repairs that go undetected until they get expensive.
Across three years, the DIY spend is front-loaded and mostly fixed after the first season. The professional path is a per-visit charge, and it’s booked each year. On paper, DIY looks cheaper because the kits multiply out over multiple seasons. In practice, the comparison only holds if the DIY sweep is actually achieving the safety outcome, and that’s the part most homeowners can’t verify for themselves.
Here’s a table as a rough shape, no dollar figures:
- Year 1 – DIY: brushes, vacuum, accessories, time. Professional: sweep plus inspection, camera report.
- Year 2 – DIY: time only. Professional: sweep plus inspection.
- Year 3 – DIY: time only, plus the diagnostic questions still unanswered. Professional: sweep plus inspection, with a written record of liner condition across all three years.
The real cost variable is the condition that goes unaddressed. A Stage 2 creosote layer or a liner crack doesn’t get cheaper to fix by sitting. And when the first real fire of the season finds something a homeowner couldn’t see, the cost of catching it “later” is what changes the math. A repair caught during an inspection is a repair. A repair caught after a fire event is a much larger scope of work. That’s the part of the comparison most DIY plans don’t include.
For the actual numbers on your specific chimney, we’ll give a free estimate. The written estimate sets the final price, and it’s yours to compare against what a DIY route would realistically cost you. For broader context, our sweep and inspection page lays out what each service actually covers.
What a professional sweep step-by-step actually involves
If you’ve never had a professional sweep in St. Petersburg, it’s worth knowing what the visit includes. This is not a mystery service, and the process should feel familiar and straightforward.
- Arrival and set-up. The technician lays drop cloths, seals the firebox opening, and sets up containment so soot stays in the chimney and not on your living room floor.
- Pre-sweep inspection. Before any cleaning, the flue and firebox get a look. Access panels or firebox openings that need attention are noted. If there’s an obstruction, it gets identified before tools go up.
- Camera inspection. A chimney camera runs the full interior of the flue. Liner joints, cracks, offsets, and creosote deposits are documented as they’re seen. This is the diagnostic step, and it’s the part DIY skips.
- Creosote stage assessment. The technician classifies the deposit and selects the correct tools for the stage found. A Stage 1 flue gets a standard poly brush. A Stage 2 or Stage 3 flue needs different tooling and, sometimes, chemical treatment to break down the hardened layer.
- Sweeping. The flue, smoke chamber, smoke shelf, and firebox are swept top to bottom with the right brush. Ash and debris are removed.
- Post-sweep verification. The camera runs again. This is the moment a homeowner actually sees whether the flue is clean, and what condition the liner is in.
- Written report and photos. You get a record of the condition, any issues found, and, if something needs repair, the recommended scope of work. The report follows the chimney across future visits.
That report is the useful part for a three-year view. When a homeowner on a professional schedule has their flue inspected each year, the record shows the condition of the liner, the crown, the cap, and the creosote accumulation moving year to year. It’s a simple concept: you know what your chimney was a year ago, so you know whether it’s changed. A DIY sweep can’t provide that, because it doesn’t produce a diagnostic baseline. That’s why professional Citadel Chimney Cleaning is built around the inspection, with sweeping as the visible result of a process that also asks what’s going on inside the flue system.
The one place DIY genuinely adds value
We want to be clear about where a homeowner’s own efforts do make a real difference: between-service monitoring and light, non-invasive visual checks. This is the honest DIY territory, and it matters.
Between professional visits, a homeowner can notice things a professional can’t catch sitting at home between appointments. A draft that started feeling weak. A new smell when it’s humid outside. Water staining on the smoke chamber face. A cap that’s visibly damaged from the yard. Birds that got into the flue. Soot staining on the firebox surround. Those observations aren’t a substitute for inspection, but they’re an early warning system, and they’re genuinely useful. If you notice a change, you call and someone looks at it, rather than waiting until the next annual sweep.
Here’s what a homeowner’s between-service visual check list looks like:
- Look up at the cap from the yard: is anything loose, broken, or missing?
- Check the firebox before each burn season: any new soot, staining, or creosote visible below the damper?
- Smell the air near the firebox when the chimney is idle: a sharp, smoky, or burning odor is worth a call.
- Watch for water intrusion near the chimney at the ceiling and around the flashing.
- Listen during the first cool-weather fire: any popping, roaring, or crackling sound that’s louder than normal warrants a stop and a call.
What you’re doing here is monitoring. You’re not cleaning, and you’re not diagnosing. You’re collecting observations that would be useful in a conversation with an inspector, and you’re noticing changes in your own home that might otherwise go unmentioned. That’s the right scope for DIY on a chimney. If you want a full inspection between your scheduled sweep because something looks off, that’s a call worth making. And if the term “inspection” isn’t clear to you yet, the sweep page above covers exactly what we check.
Every one of these between-service observations is also worth pairing with a simple rule: if a visual check turns up anything on the list above, don’t try to fix it from the ground up. Call and get the camera in there.
See the difference
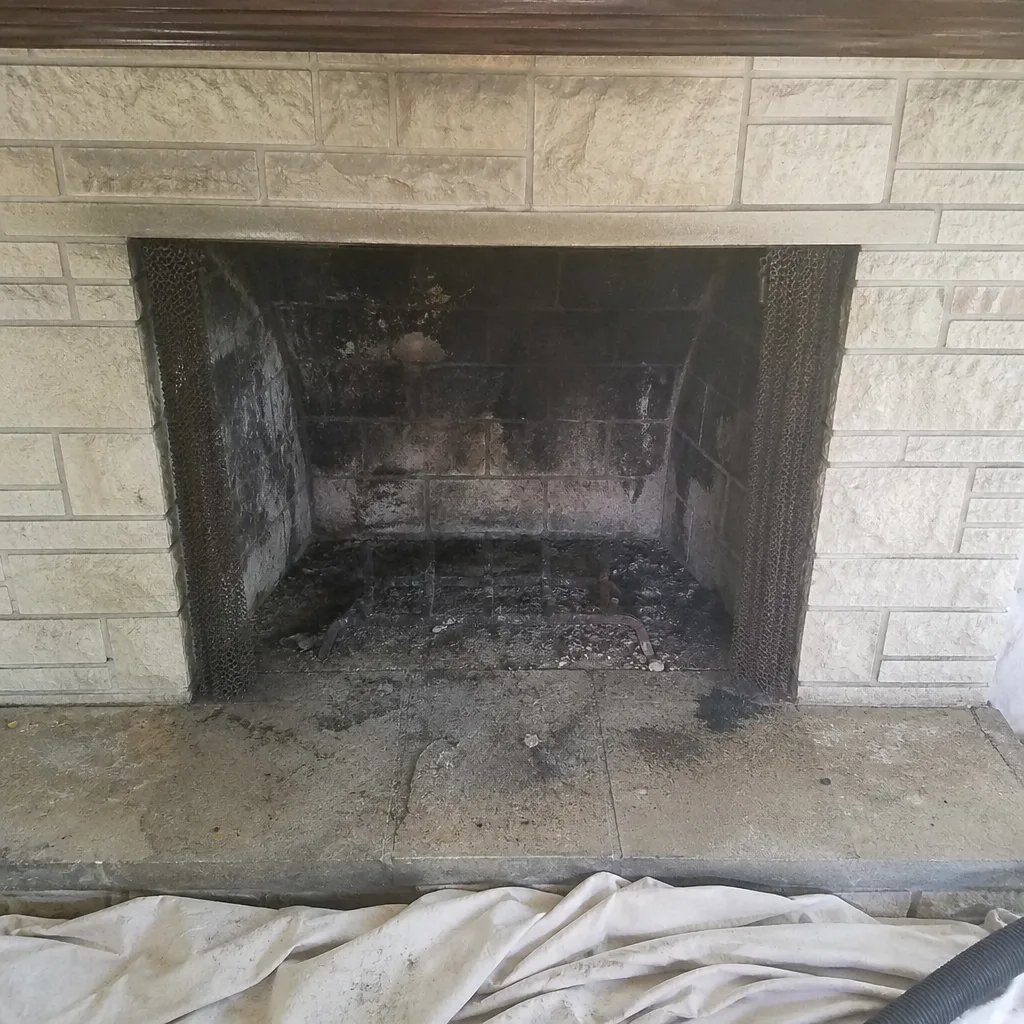
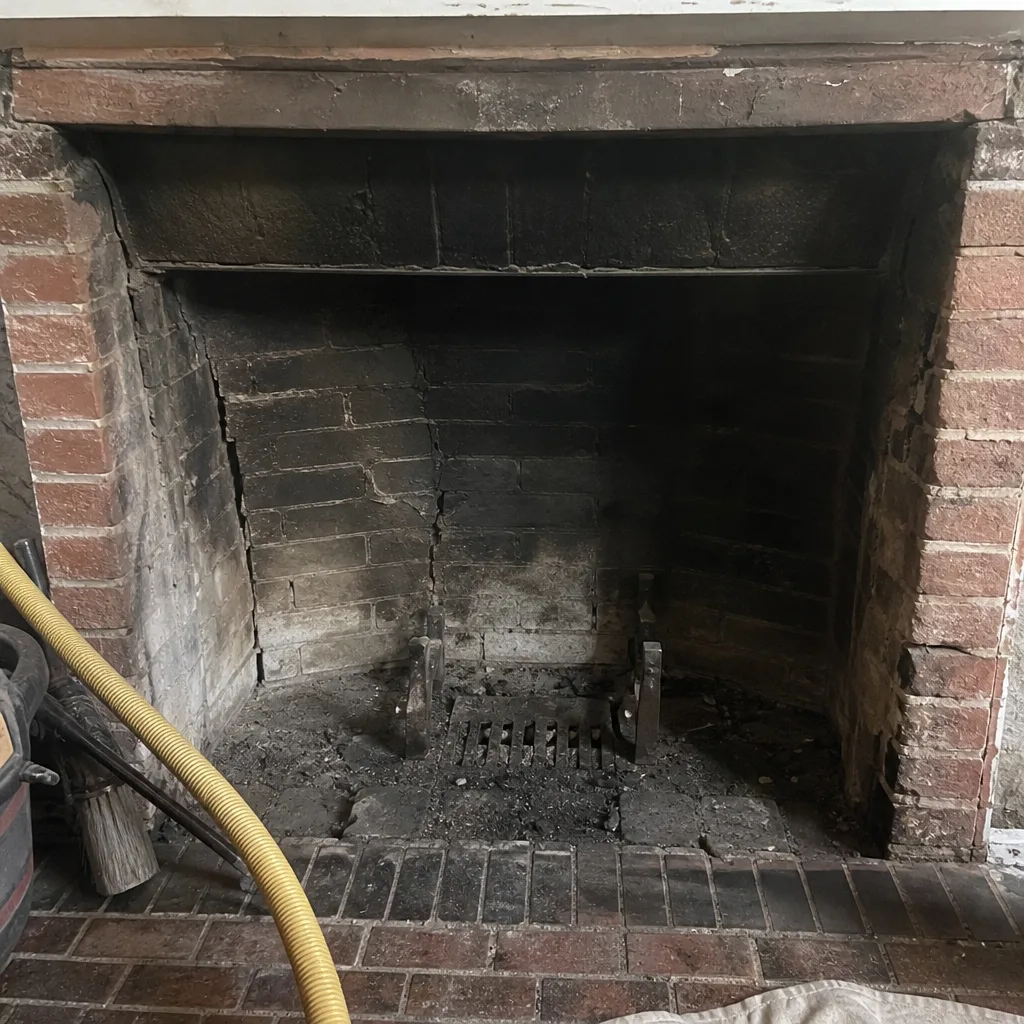 Before
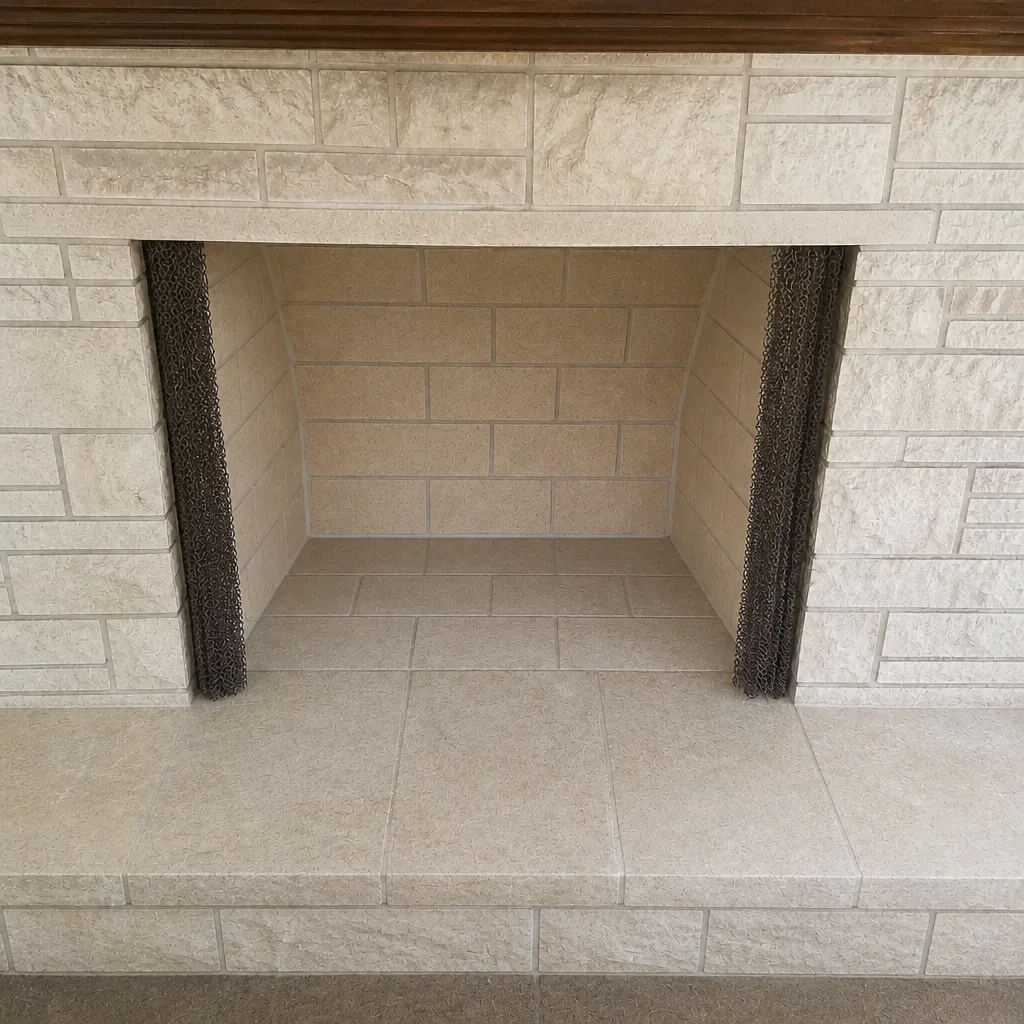
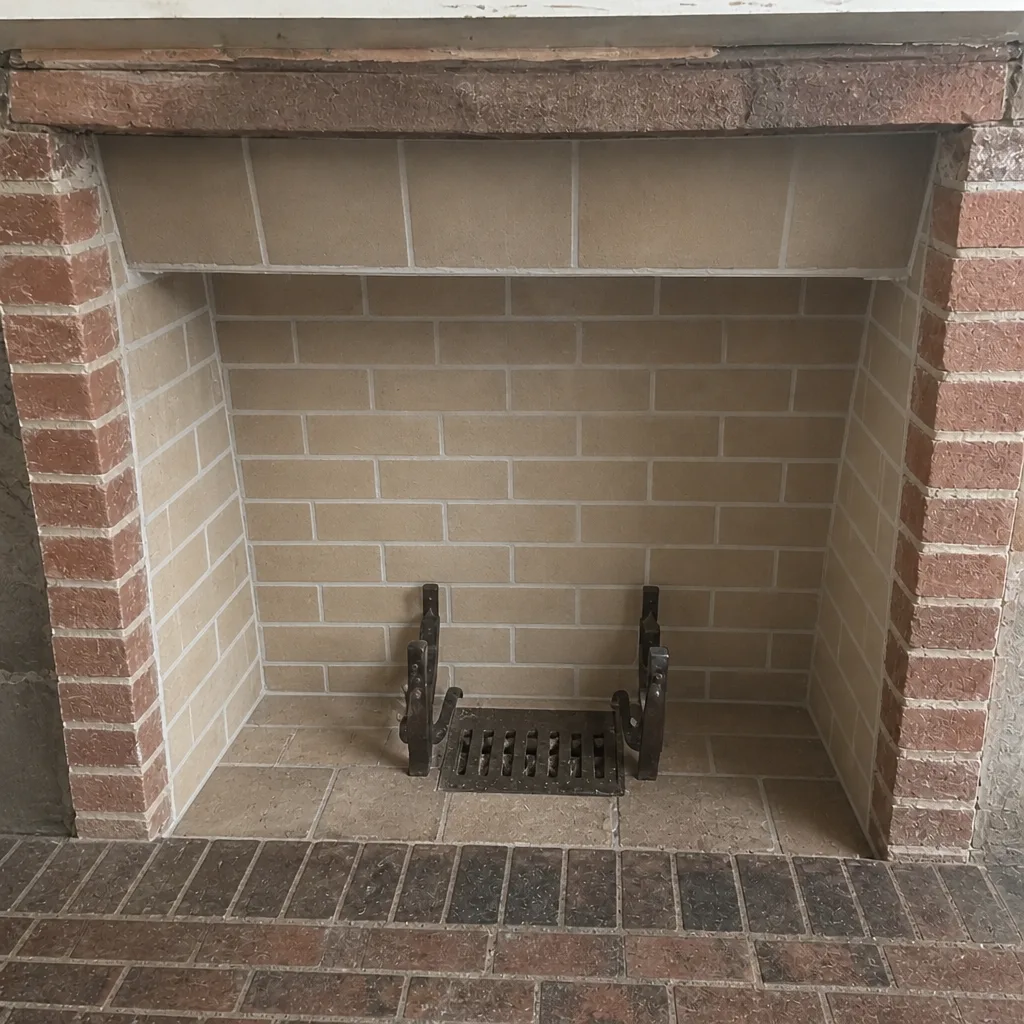 After
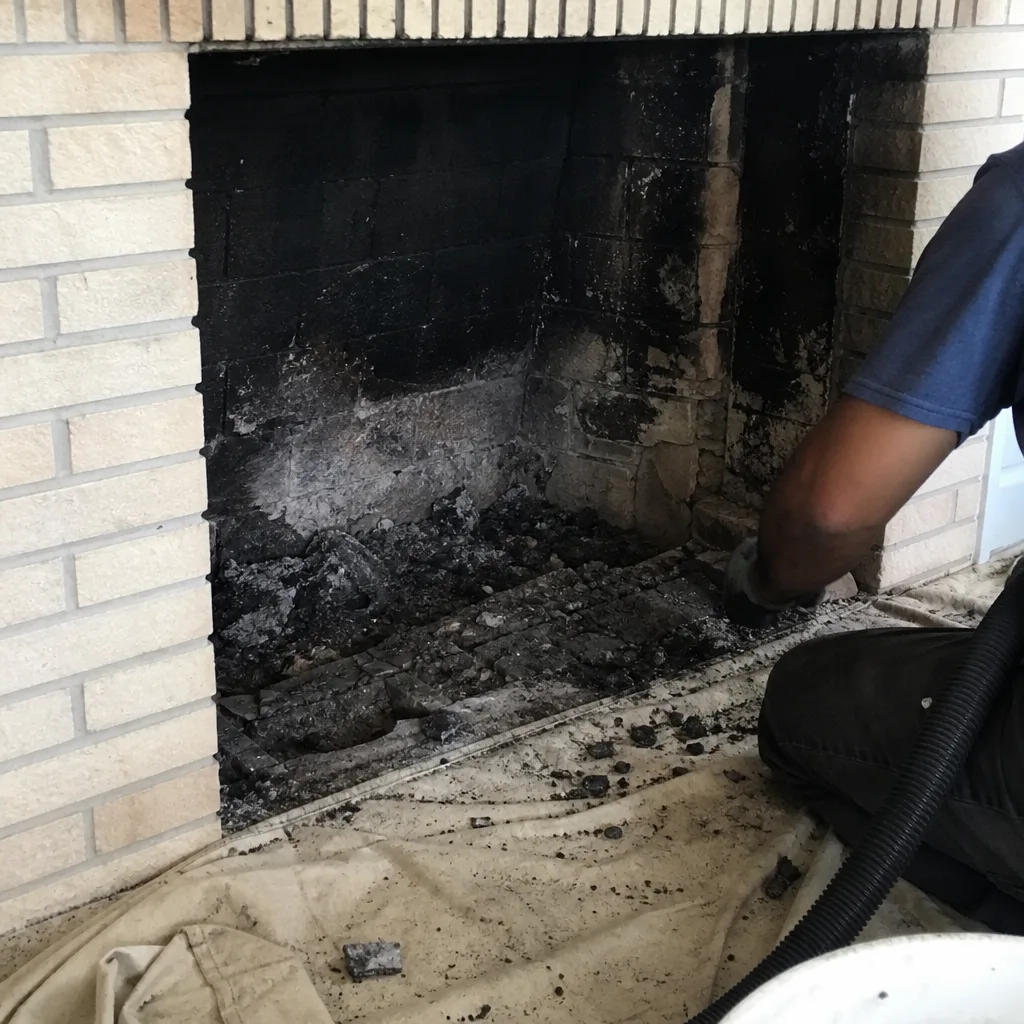 Before
 After
 Before
 After
Common Mistakes to Avoid
- Treating a brush-pass as an inspection. A clean firebox and a bright flue wall do not mean the liner is intact or the creosote stage is low. If you’re not using a camera, you didn’t inspect the chimney. You cleaned it.
- Ignoring the creosote stage. Consumer brushes remove Stage 1 and leave Stage 2 and 3 behind. If your last DIY attempt came back with hard residue stuck to the flue wall, that’s the layer that matters, and it needs the right tooling.
- Assuming the humid season doesn’t affect the flue. Creosote in St. Petersburg’s humid air can adhere more stubbornly to the flue wall, which means a brush that worked fine last year may perform worse this year. That’s not technique; it’s the environment.
- Skipping the cap and crown check. The cap and crown are part of the chimney system. A damaged cap lets water and wildlife in and can let sparks out. Neither is something a brush addresses.
- Burning wet wood to “get through” the season. Wet wood produces more creosote. If you’re buying firewood in St. Petersburg, ask about the moisture content and give it time to dry. This dramatically affects how fast your flue loads up.
- Waiting to call when something looks different. The most common mistake is not a bad sweep. It’s a homeowner noticing a change in draft, smell, or staining and deciding to keep burning until the next appointment. That’s the wrong call.
- Assuming a clean flue is a safe flue. A visually clean firebox sits underneath the diagnostic work that actually tells you what condition your liner is in. The two are not the same. Treat the inspection as the safety step, not the extra.
When to Call a Professional
Call a professional sweep before your next burn season if any of these apply to your chimney in St. Petersburg.
- You’ve never had the flue inspected, and you’re not sure of its condition.
- You noticed a change in draft, smell, or soot staining since your last sweep.
- You’ve had a chimney fire, or a fire that behaved oddly in the flue.
- You smell smoke in the room when the fireplace is idle.
- Your chimney cap is damaged or missing.
- You’re in a home purchase transaction and need a pre-purchase chimney inspection.
- You’ve had anything other than Stage 1 creosote found in the flue in the past.
For any of those, get in front of a camera before you burn. Citadel Chimney Cleaning offers free estimates in St. Petersburg. Call (833) 467-4164. We answer 24/7. Fast dispatch from 7am to 7pm, Sunday through Friday. Our technicians have up to 11 years of experience, and we only do chimney work: sweep, inspection, and repair. Call today and we’ll come out, run the camera, and show you what we see before we recommend anything.
Frequently Asked Questions
DIY chimney cleaning is safe in the sense that you won’t injure yourself if you use the right tools and ladders carefully, but it is not safe in the sense that matters most: it doesn’t produce a diagnostic result. A homeowner can sweep the flue without verifying liner integrity, creosote stage, or obstruction, and those are the safety-critical items. If you want to know your chimney is safe to use, you need a camera inspection, and that’s what a professional sweep includes.
Most chimneys benefit from an annual sweep and inspection, and the humid seasonal cycle in St. Petersburg makes that cadence worth sticking to. If you burn frequently on cool evenings through the year, or you burn wood that hasn’t dried fully, your flue loads faster than an occasional user’s. Ask for a camera inspection to set the right cadence for your specific chimney rather than guessing.
You need a professional sweep when you notice a hard, sticky or glazed residue on the flue wall, when draft has weakened, when you smell smoke in the room while the fireplace is idle, when you’ve had an unusual fire, when the cap is damaged, or when you’ve never had the flue inspected. Any one of those turns the question from “should I sweep” into “someone needs to look.” Call (833) 467-4164 for an estimate.
A homeowner can remove Stage 1 creosote and loose soot with the right poly brush. Stage 2 creosote is hardened and adheres to the flue wall, and consumer brushes typically don’t lift it. Stage 3 is glazed and needs a different approach entirely. The stage you’re dealing with determines whether a brush is enough, and identifying the stage is exactly what the brush doesn’t do for you.
DIY front-loads its cost: a brush set, a fine-ash vacuum, and safety gear, then time on each visit afterward. A professional sweep is a per-visit charge and includes camera inspection and a written report. Over three years, the DIY path looks cheaper only if the DIY sweep is actually achieving a safe outcome, which a homeowner can’t verify without a camera. Call (833) 467-4164. Estimates are free, and the written estimate sets the final price.
We can’t speak to insurance terms; those differ between carriers, and you should check with yours directly. What we can tell you is that a professional sweep produces a written inspection record showing the condition of your chimney at the time of service, and that record is useful if you ever need to demonstrate the chimney was being maintained. A DIY sweep doesn’t generate that kind of record.
When to Call a Professional
You’ve read the reasoning. Here’s where it lands for a St. Petersburg homeowner. A DIY sweep is a real cleaning action, and it can remove loose soot and Stage 1 creosote. It is not an inspection, and the conditions that actually matter for safety are the ones you can’t see from the firebox without a camera. Stage 2 or Stage 3 creosote, hairline liner cracks, wildlife obstruction, and structural issues all sit inside the flue. They’re the reason the professional visit exists.
If you want to know your chimney’s condition before you burn, call Citadel Chimney Cleaning and get the camera in there. We work with recognized chimney-industry brands: HeatShield and DuraFlex for liner work including liner resurfacing and relining, plus Copperfield and Gelco where the job calls for them. We do all three core services – sweep, inspection, and repair – so when something comes up on camera, the same company can plan and complete the fix. No referral runaround.
Call (833) 467-4164 for a free estimate. We answer 24/7. Fast dispatch from 7am to 7pm, Sunday through Friday. The written estimate sets the final price, and we’ll show you the camera evidence before anyone recommends repair work.
Written by the team at Citadel Chimney Cleaning.